Introduction:
Reactive screen components represent the evolution of form building, introducing a higher level of responsiveness and interactivity to screen flows. With reactivity, users can design dynamic screens that adapt in real-time to user actions, reducing the need for repetitive Next button clicks and simplifying the overall user experience. This innovation is particularly valuable for users who prefer smoother and more engaging interactions with the screen elements
Steps to enable and use the Reactive Screens Beta feature in Salesforce:-
Step 1:
- Go to the Process Automation Settings page in Setup.
- Check the “Opt in to Reactive Screens Beta” option and agree to the Unified Pilot Research Agreement for using the feature in your org.
Step 2:
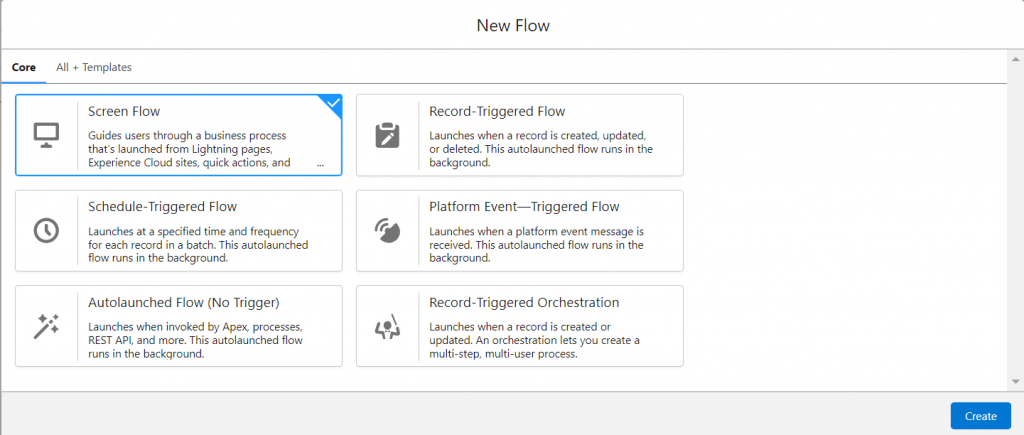
- To create screen flow by searching flow in setup.
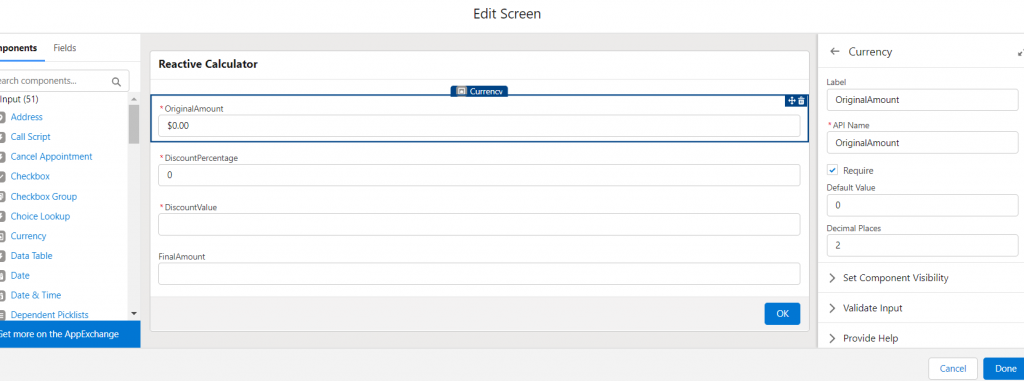
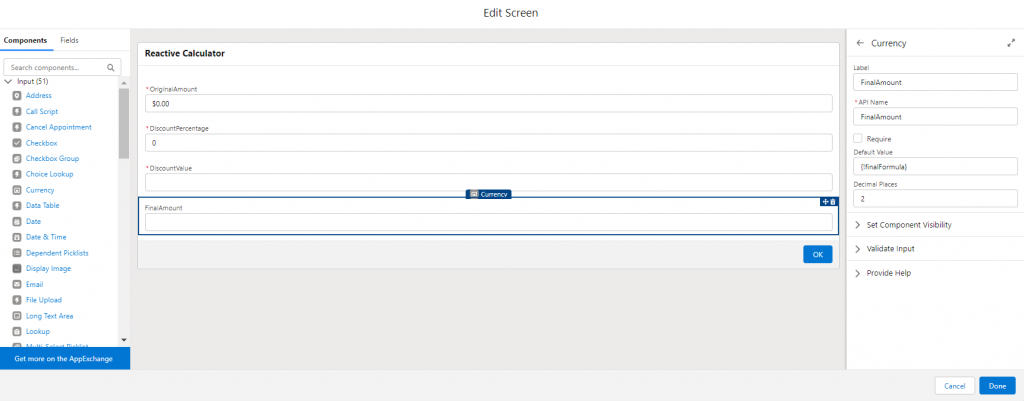
Create a New Screen and add the component of fields:
- Add the Original Amount Field: Include a “OriginalAmount” field set as a “Currency” type and mark it as “Required.”
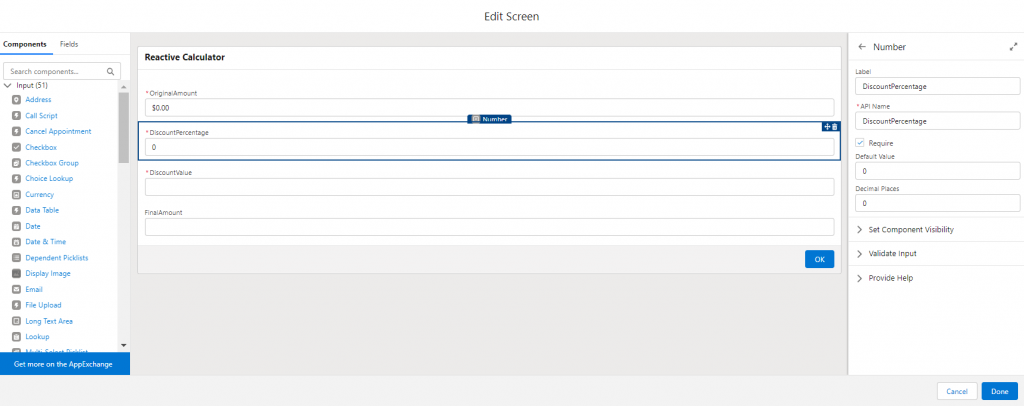
- Add Discount Percentage Field: Add a “DiscountPercentage” field with a default value of zero and set its type to “Number.”
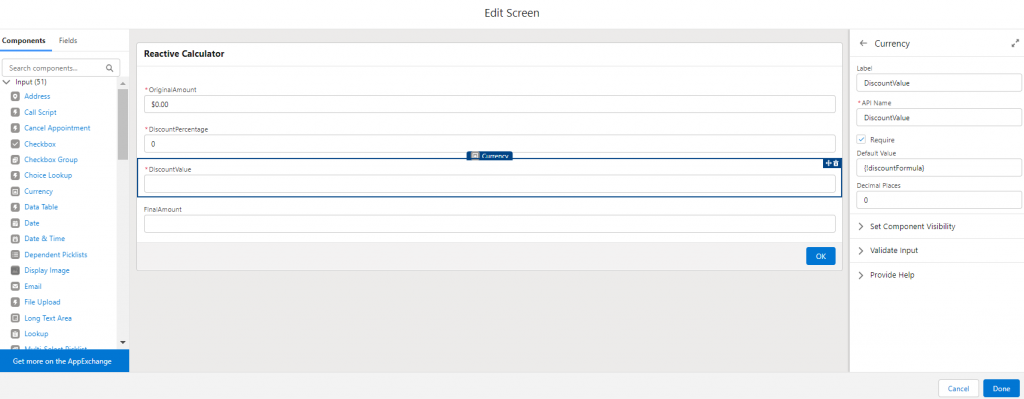
- Add Discount Value Field: Introduce a “DiscountValue” field with a default value of zero, set it as “Currency,” and enable reactivity to auto-update based on the Discount Percentage.
- Define Reactive Rule: Create a rule for DiscountValue, such as DiscountValue = (OriginalAmount * DiscountPercentage) / 100.
- Final Amount Field: Incorporate a “Currency” field named “FinalAmount.” Set its formula to calculate the final amount: FinalAmount = OriginalAmount – DiscountValue.
- Finally, Amount is calculated based on the input and updated the result.
Conclusion:
In summary, Reactive Screen Components enhance form building by enabling real-time responsiveness to user actions, simplifying the user experience and reducing frustration associated with repetitive interactions.

